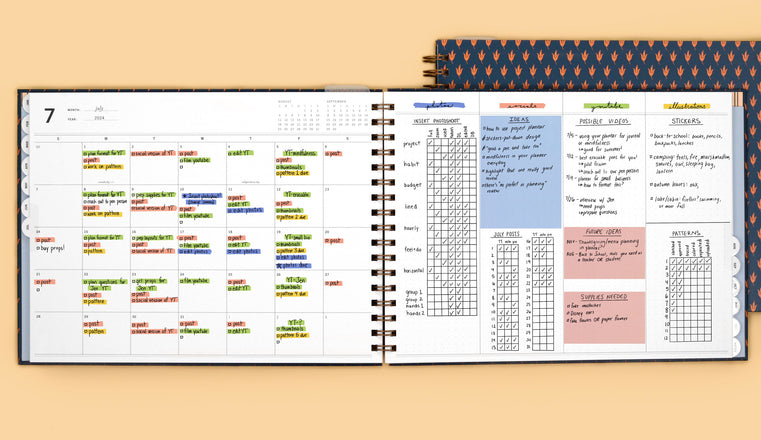
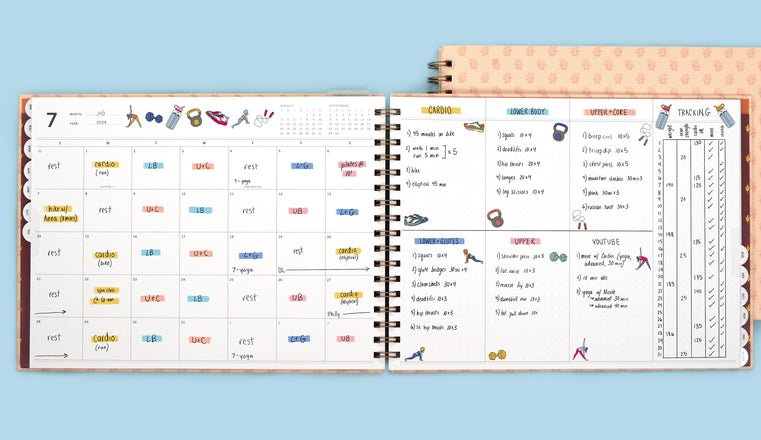
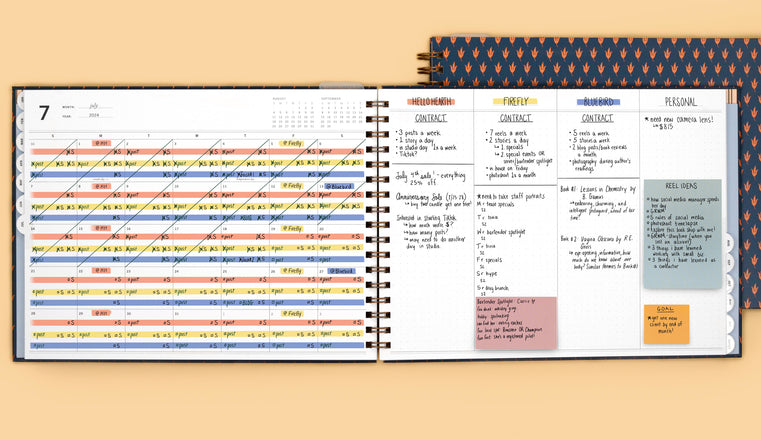
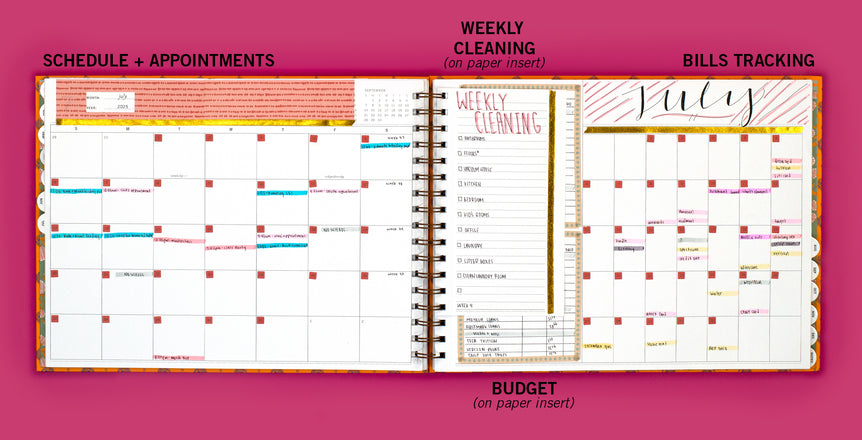
Horizontal Weekly: Kellen
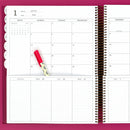
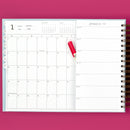
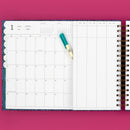
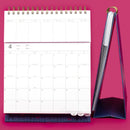
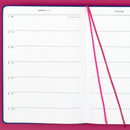
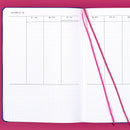
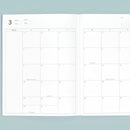
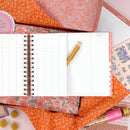
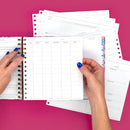
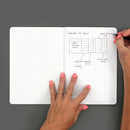
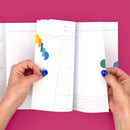
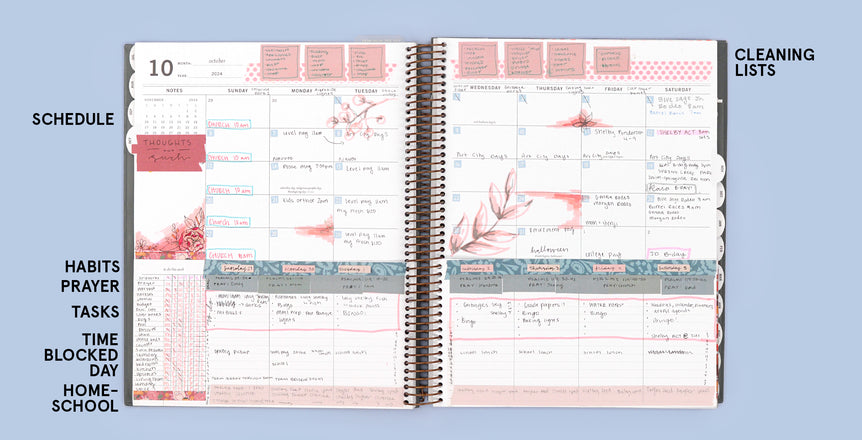
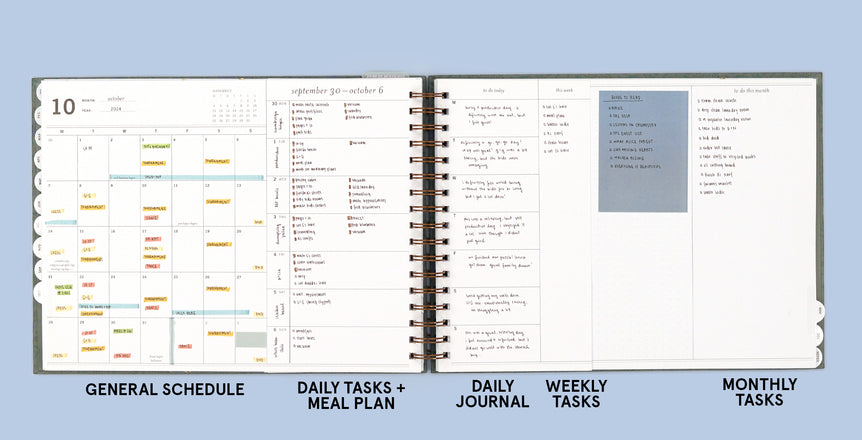
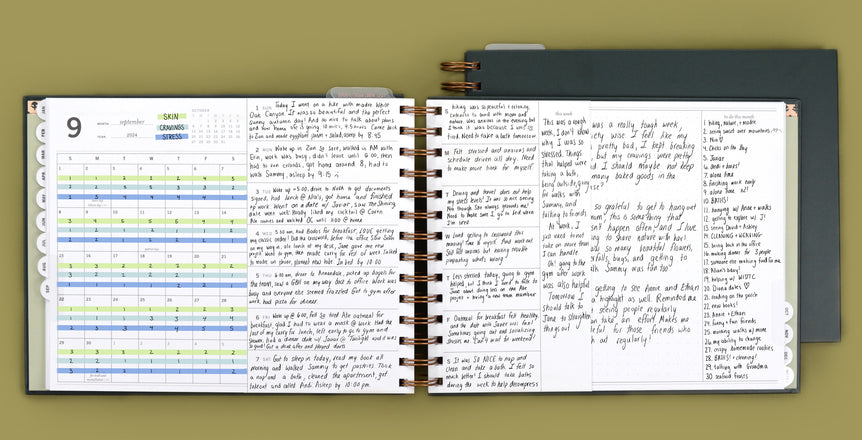
Kellen uses a digital planner for precise details of her schedule, but part of her wellness routine includes a time for daily reflection and journaling - pen to paper. Because she loves planners and all things stationery, she puts her general plans in her monthly view, uses her weekly pages for her journal, and her notes section for her end of the month reflection. This planner layout allows her to look back on her journal AND what her schedule looked like, allowing her to really reflect on her feelings and what her life was filled with at any given time.See how we use our Horizontal Weekly Planner
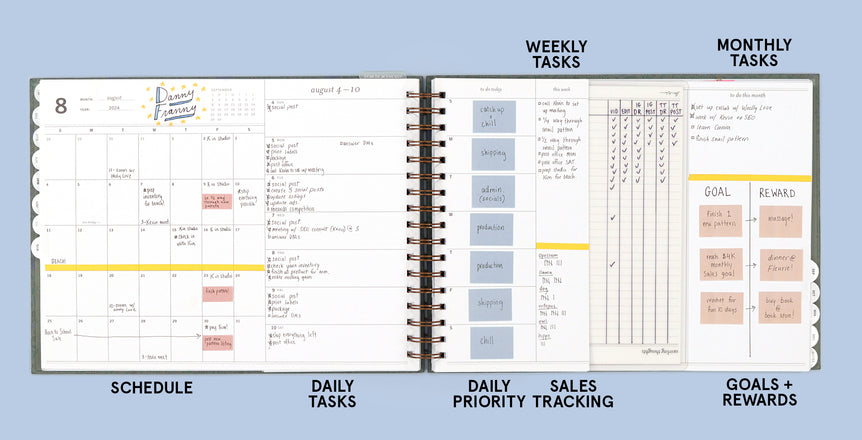
Danny
etsy shop business owner
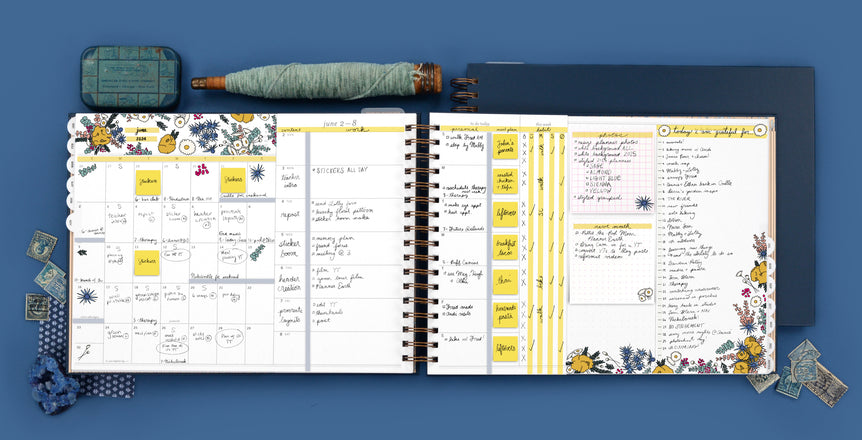
Nancy
art director + personal life
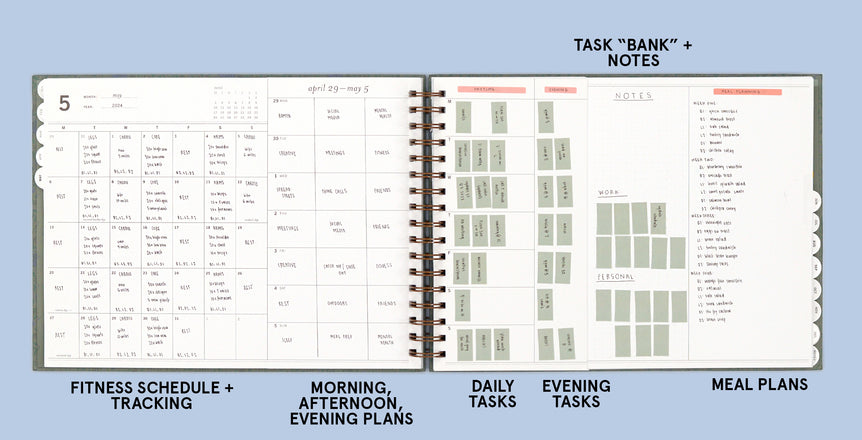
Cameron
full time job + fitness
Betsy
stay-at-home mom
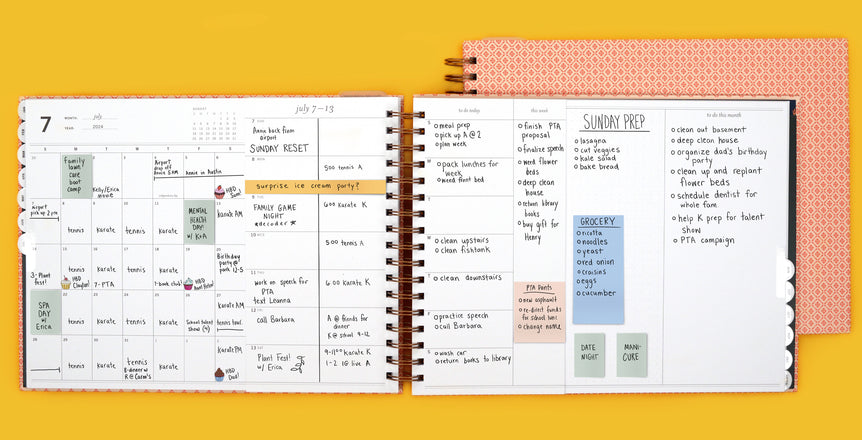
Maya
stay-at-home parent
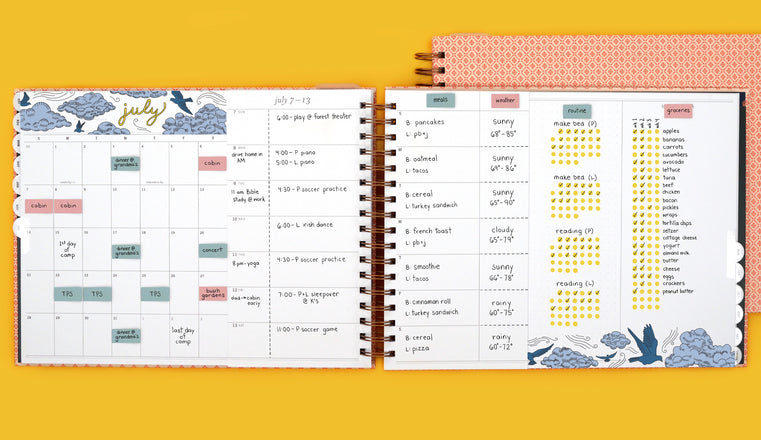
Annie
family command center
Jenn
stay-at-home mom
Tamia
travel nurse
Jack
part time job + stay at home dad
Giovanna
journaling + mood tracking
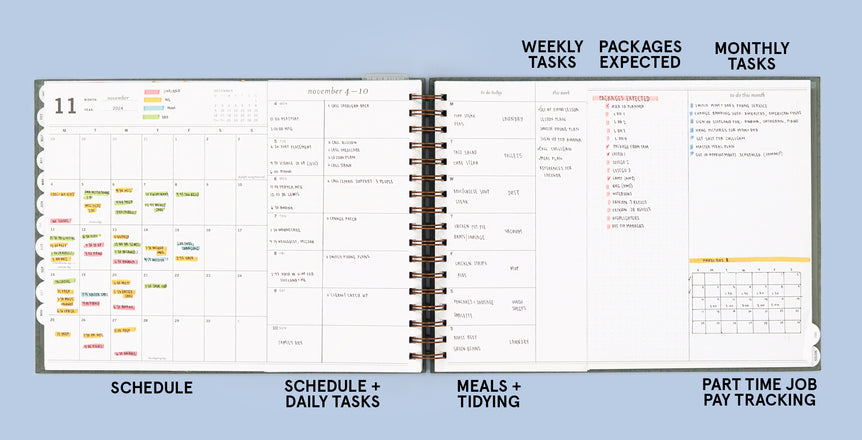
Jada
elderly caregiver
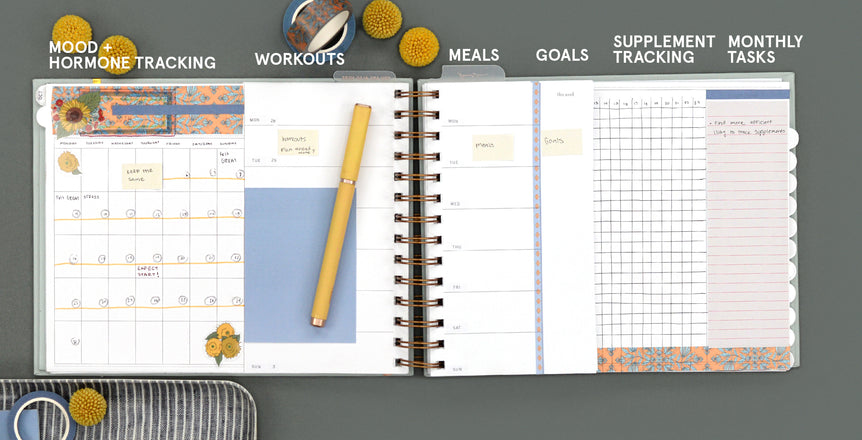
Halle
health + wellness
See how we use our Vertical Weekly Planner
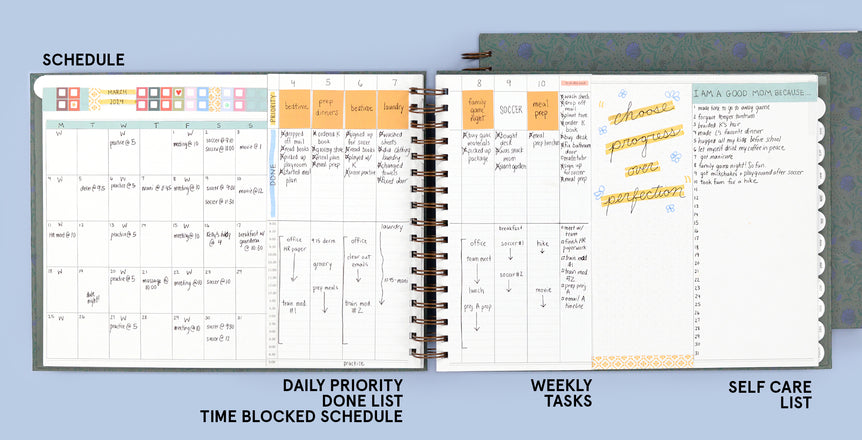
Desi
part time job + mom
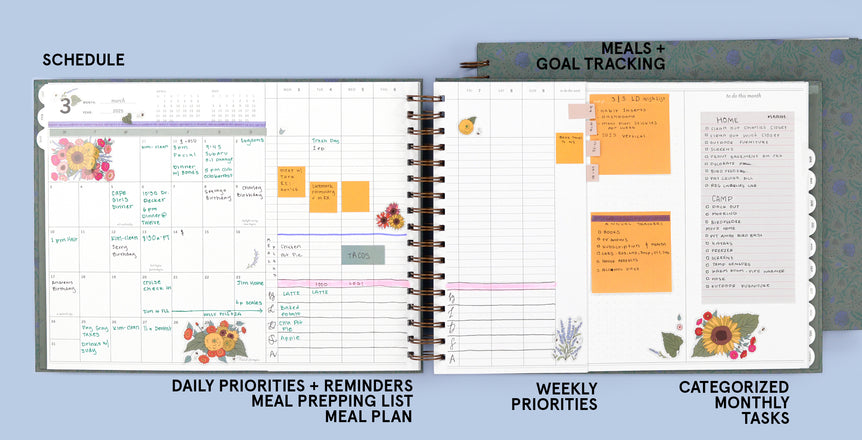
Julie
an amazing-nothing-fancy life
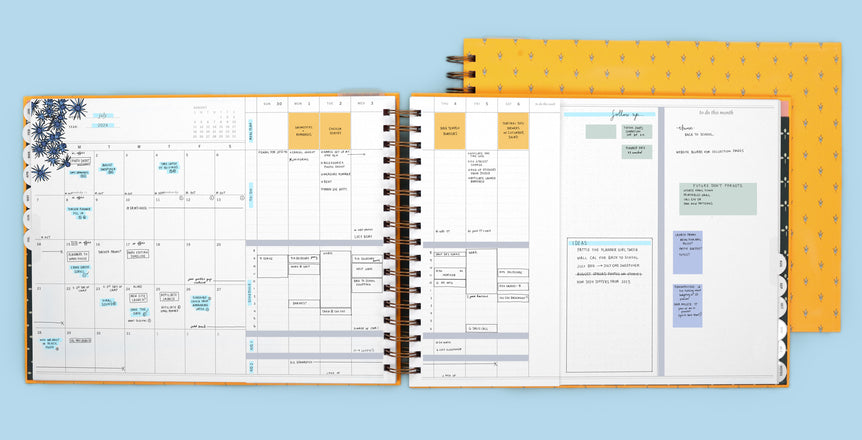
Laurel
small business owner + personal life
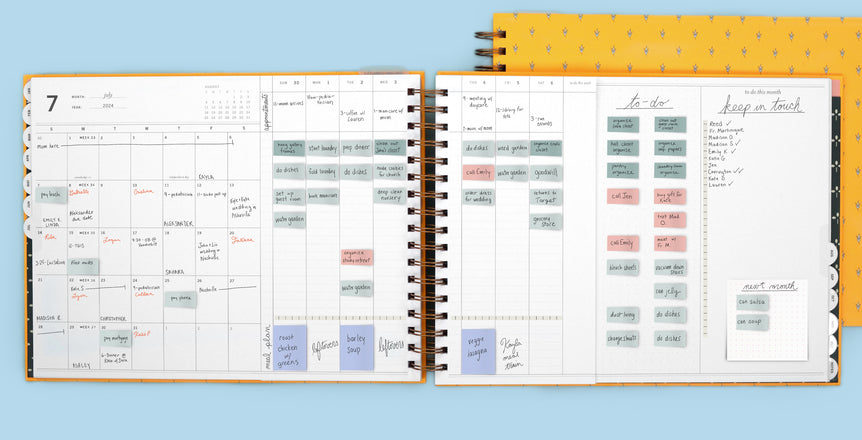
Aline
new mom
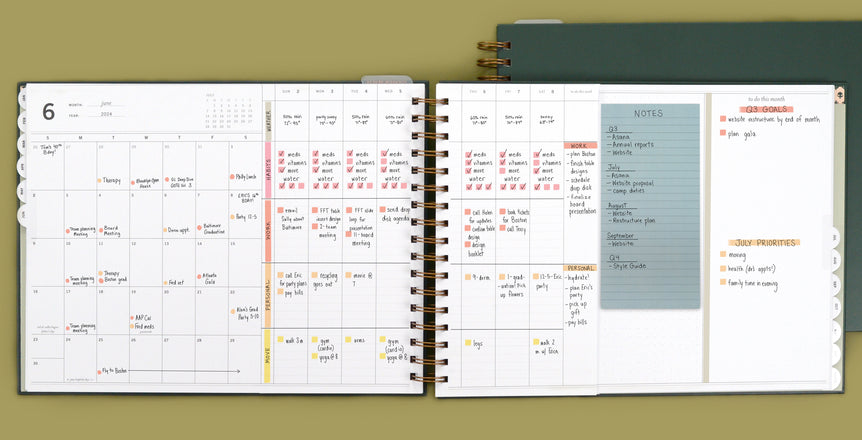
Sarah
full time job and personal life
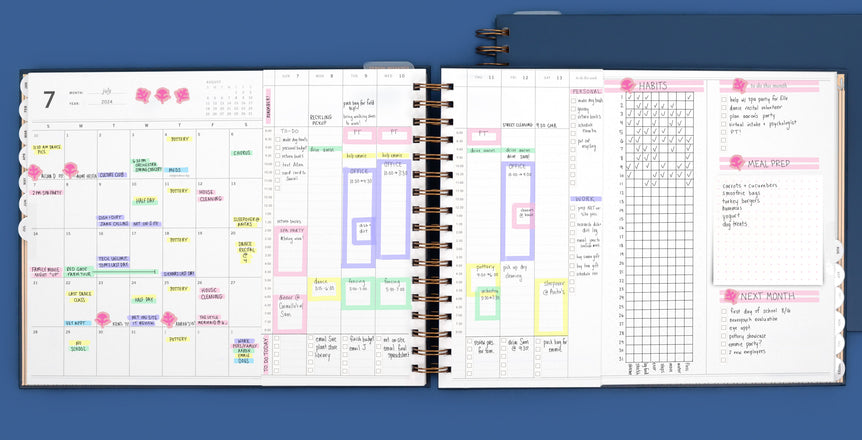
Rachel
mom of littles with a part time job
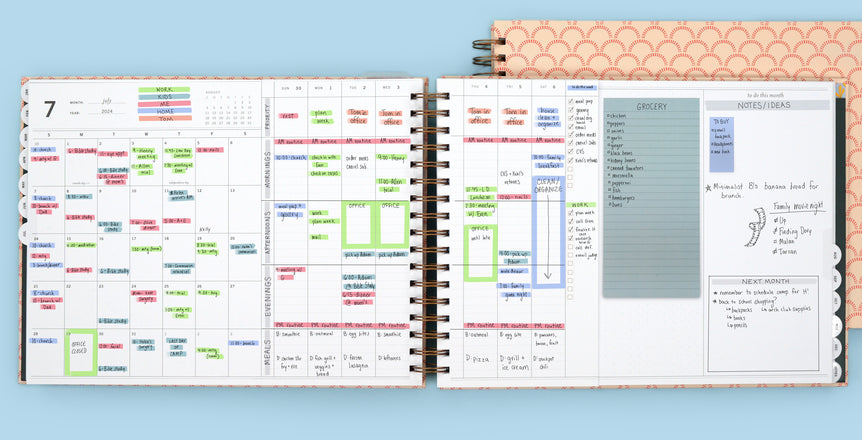
Emmie
mom with part time job + personal life
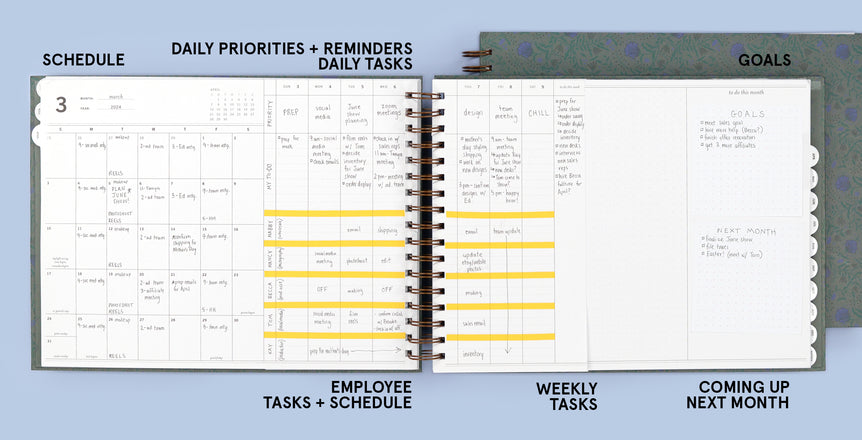
Kiara
people manager
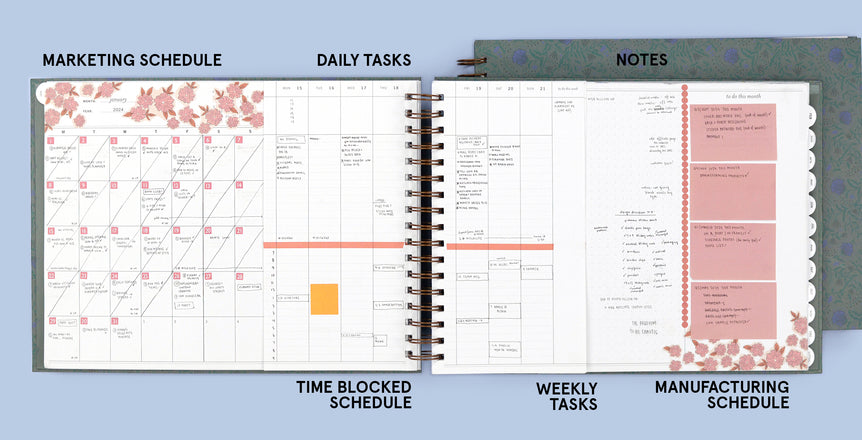
Dawn
entrepreneur + mom
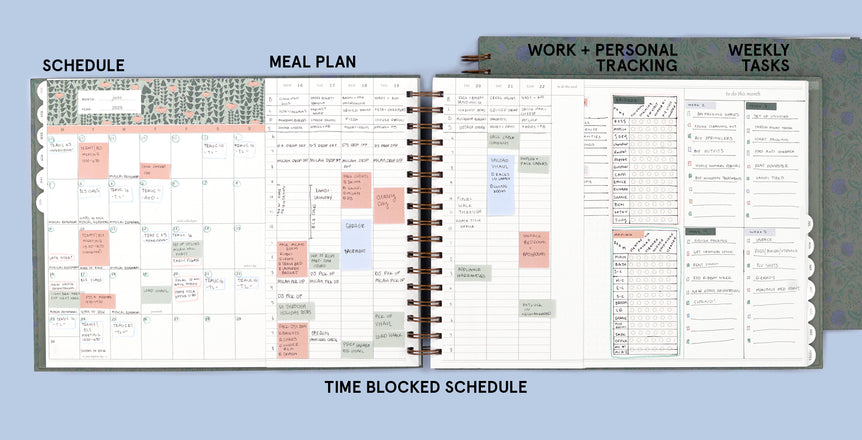
Bonnie
family manager
Val
pastor + mom
Stephanie
homeschool
See how we use our Portrait Planner
See how we use our Teacher Planner
frequently asked questions
Start by visiting our Compare Our Planners page for an overview of our layouts and which planning styles work best with each one. That will help you understand what you're looking at.
Then, check out our How to Use Our Planner Systems page for inspiration on how to set up your planner. If you can "see yourself" in a planner, it helps make the hope of organization more tangible.
For detailed product introductions and in-depth planner features, don’t miss our regularly updated YouTube channel, where the Laurel Denise team shares how they use our planners to stay organized.
Planning can feel overwhelming at first, but we’re here to make it easier! Whether you’re a seasoned planner or just starting out, we’ve got you covered. Our YouTube channel is packed with content designed to inspire and guide you, and we share daily advice and ideas on Instagram Stories. You’ll also find practical tips in our blog posts, especially 6 Tips to Help You Get Started.
If you are truly just getting started with planning and aren't sure what people put into planners, check out this free printable on Getting Started: What to Put in Your Planner.
For even more inspiration, check out the "How to Start" and "Tips + Tricks" Highlights on our Instagram. If Instagram isn't your thing and you're already feeling a little overwhelmed, here’s some quick advice from Laurel to help you dive in and make the most of your planner:
Laurel’s Quick Planning Tips
- Start with a Brain Drop
Write down every task, appointment, and idea floating around in your head. Get it all out onto paper or a digital note. (For extra fun, use one of our notepads designed just for this.) - Input Deadlines
Transfer the deadlines and projects from your brain drop into your monthly and weekly planner views. You can set this up one month at a time or map out your entire year in advance. (Pro Tip: Consider planning just three months ahead. Use sticky notes as placeholders for appointments in later months—your planning style might evolve, and this approach keeps things flexible. - Assign Tasks
Take the remaining tasks from your brain drop and assign them to a specific day, week, or month. Focus on imminent tasks first, and place long-term ideas in the corresponding month’s list to revisit later. - Track Unassigned Items
Keep a small sticky note or one of our Pop-In-Panels handy with tasks that don’t have an immediate deadline. Address these as you find time and mental capacity or delegate them when possible.
Remember: Planning Is a Process
We revisit this process often, starting with a brain drop and working through the steps to organize our swirling thoughts into manageable actions. No matter where you are in your planning journey, be kind to yourself. There’s no such thing as perfect planning.
If you have any questions or need more guidance, we’re always here to help. Happy planning!
In addition to the page you are on (scroll up if you missed it), we share new content on our YouTube channel almost every week and post daily updates on Instagram, featuring creative planner spread ideas and lots of fun. For layout-specific inspiration, explore our Instagram highlights, neatly organized by layout type.
Check out our Compare our Planners Page for clear details on each Laurel Denise planner layout.
Every Laurel Denise planner layout provides space for daily, weekly, and monthly task lists and notes, featuring the signature all-in-one view that sets Laurel Denise apart. The difference between our planners is (mostly) in the short pages, which are the daily and weekly pages.
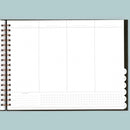
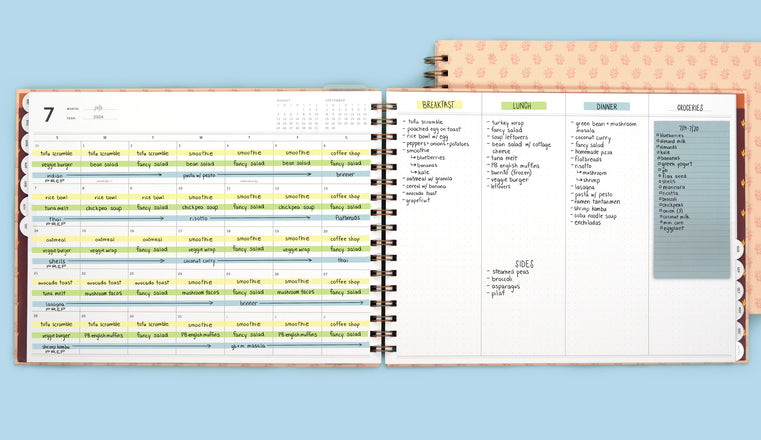
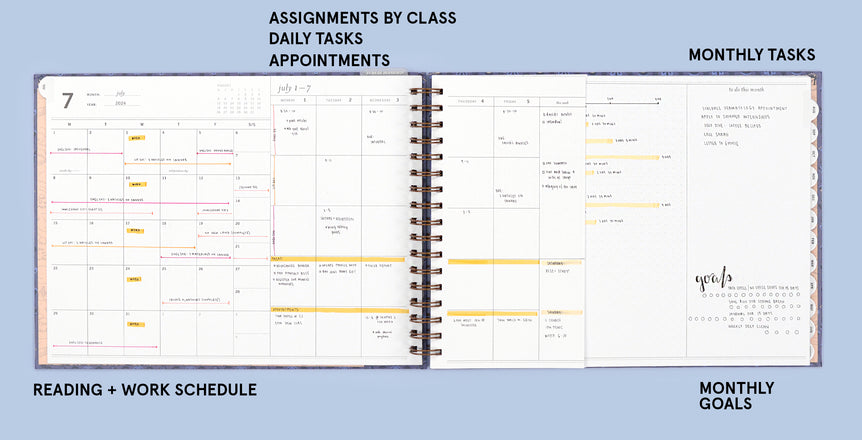
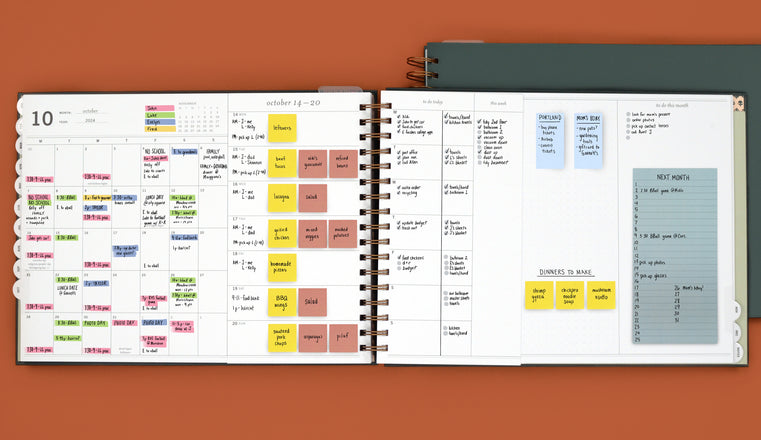
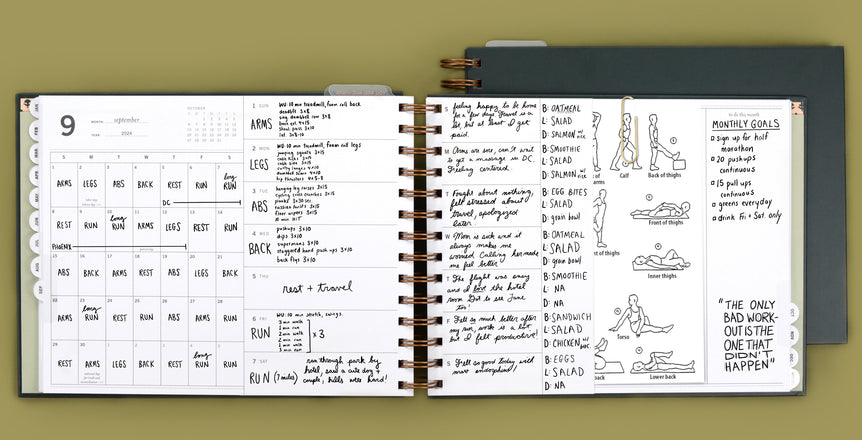
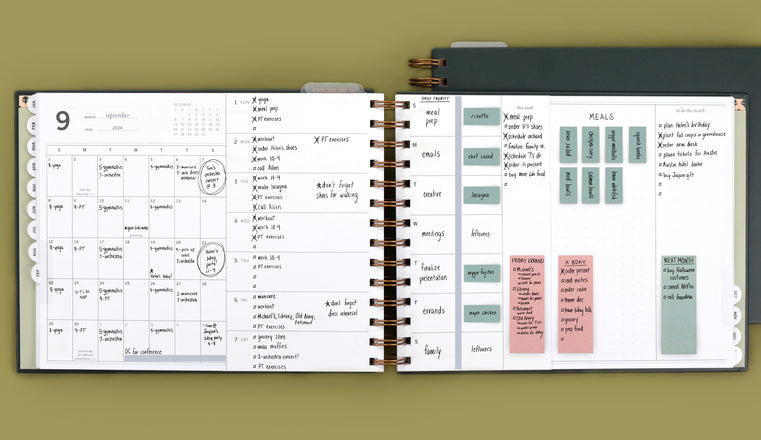
In the Horizontal Weeky Planner, these pages have horizontal lines and don't have hourly time blocks. They are in the middle of the planner, around the coil binding.
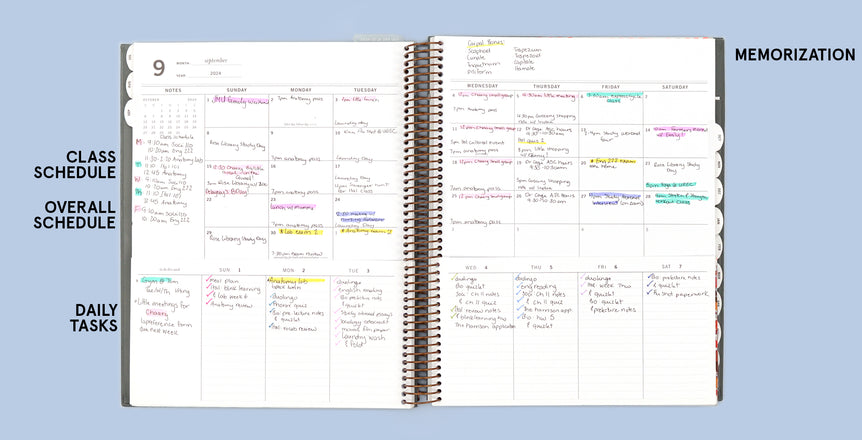
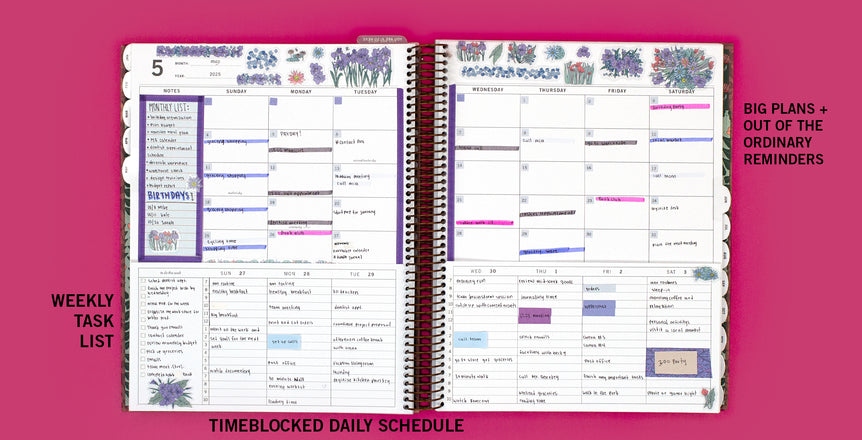
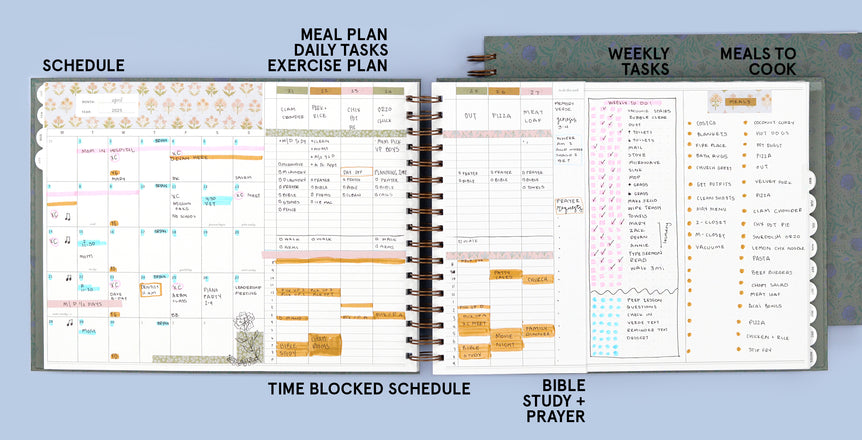
In the Vertical Weekly Planner, these short pages have vertical columns with lines and allow for a time blocked schedule. They are in the middle of the planner, around the coil binding.
The Portrait Planner is bound with a spiral and the short weekly and daily pages are along the bottom of the planner. Each day has a vertical lined column in this planner.
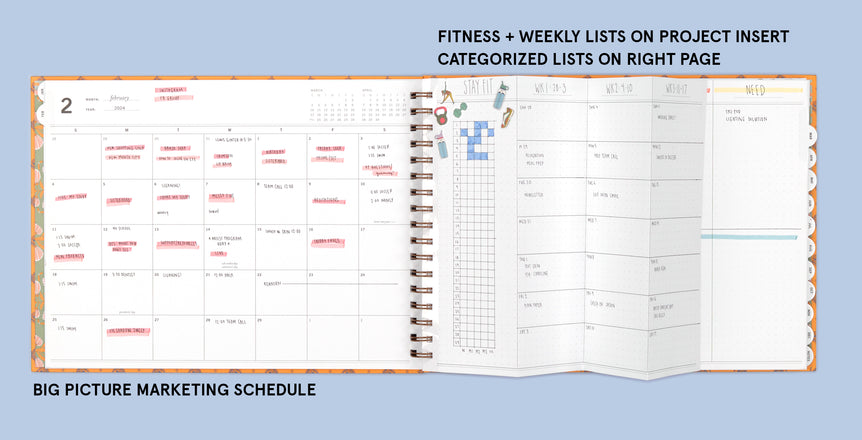
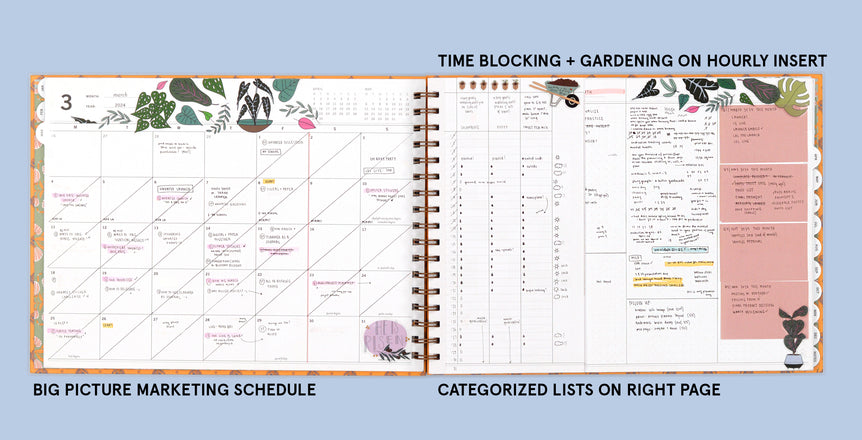
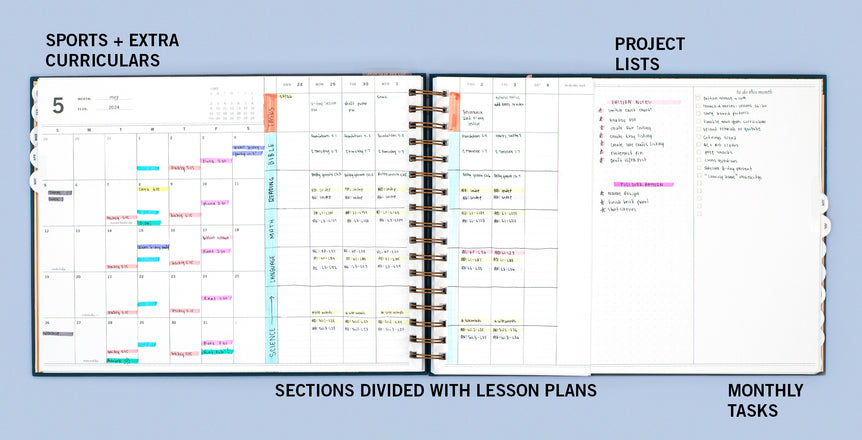
In the Project Planner, there are no daily or weekly short pages around the coil (although you can purchase inserts for that). This planner has a more open concept with a large monthly view on the left side and a space for categorized lists or brain drops on the right side. This planner also features extra project breakdown pages in the back.
The Simple Monthly Planner is our most traditional layout, featuring a large monthly planner.
The monthly view is where your macro, or your big picture, schedule goes. Deadlines, due dates, travel plans, ANYTHING at all that you need to have a birds eye view of. (If that includes details like your dentist appointment at 2pm on a Tuesday, then so be it, but I would save details like that for the shorter pages.)
The weekly view is where you micro, or detailed, schedule and tasks go. These can be things associated to the items on your monthly view - they are the details of that view. These can also be things that stand alone - meetings, schedule, task items that happen in your daily life.
Check out this reel (and the "month vs week" highlight on our IG channel) for details on this.
As with all of our planners, these definitions are fluid. You can be like Nancy and include details in your monthly view (like that dentist appointment) and use the short pages to echo those details and include detailed tasks, you can be like Mabby and use the monthly view for your family's schedule and the weekly pages for your daily task lists, you can be like Laurel and use the monthly view for your marketing schedule and the weekly pages for your time blocked schedule and daily task list, or like many of the users out there who have found their best way. The recommendation above is the most overarching and basic use and will help you to get started with your Laurel Denise planner.
Our Vertical and Horizontal Weekly planners come in Standard (9x12) and Mini (7x9).
Our Project planners are available in Standard (9x12), Sewn Binding (8x10), and Mini (7x9).
Our Portrait planners are available in Standard (8x10) and Mini is coming with our 2026 collection.
All detailed sizing information for every Laurel Denise planner can be found in the photos of each product.
Horizontal Weekly Planners
Vertical Weekly Planners
Project Planners
Portrait Planners
Simple Monthly Planner
There are so many reasons people pick a specific planner size! Here are a few we have noticed come up quite often:
1. Handwriting size *can* matter. We have images on each product listing showing several people's handwriting so that you can see how your handwriting compares and which size to pick based on that.
2. If you don't tend to plan in detail and don't have a full schedule, the Mini planner is for you.
3. If you are just starting your planning journey, we recommend starting with a Mini size.
4. Our planners leave ample room for all of the things, which can make having them fully open feel larger than your usual planner. If this feels intimidating, choose the Mini size.
5. If you want to use your planner to plan work, personal, kids, all of the lists, notes, and your cat's medication schedule, choose the Standard size.
6. Contrary to what it may seem, all of our sizes are pretty portable. The Standard size is about the size of a traditional laptop. If you have a handbag and want your planner to stay there, we suggest going with a Mini.
We do not offer our planner layouts as a printable file.
Laurel has created some printable layouts that are slightly different from the planners we offer and they can be found here.
The most popular app for digital planners, GoodNotes, only allows for a single planner screen to change at a time, making it impossible to format a Laurel Denise layout on this app (we need 4 screens at one time!). Until we decide to add "tech company" to our small business, we will continue manufacturing the high quality paper planners you've come to love.
We will absolutely continue to research if we can make our unique format into a digital layout and hope to be able to offer it in the future!!
Laurel Denise offers coil and spiral bound planners.
Unfortunately, book binding (or coptic/flat lay binding) will not work for our planner as that kind of binding does not work for pages that aren't uniform in size and width (our long and short pages make this difficult). We will continue to research ways this an become a reality in the future!
