


How to Set Up Your Planner for Productivity: 6 Easy Move-In Steps

Setting up a new planner should feel energizing—not overwhelming. Whether you’re moving into a Laurel Denise planner for the first time or refreshing your system for a new season, these six easy move-in steps will help you set up your planner for productivity in a way that actually works for your life.
No pressure. No perfection. Just a clear, flexible approach that supports how you plan in real life.
Step 1: Decide What Belongs in Your Planner
Before you write anything down, pause and think about what you truly want and need your planner to support. This step is more important than it sounds—and it’s often skipped.
Do you want to track appointments, work deadlines, family schedules, wellness habits, or long-term goals? Not everything needs to live in your planner, and clarity here sets the foundation for productivity.
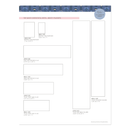
To make this easier, we created a “What to Put in Your Planner” free printable filled with ideas. Choose your top three to five priorities to start, then build from there as your planning system evolves.
Download the free printable here to walk through the process step by step.
One additional place to look for clarity is your previous planner, if you have one. Flip through last year month by month and notice what you tracked, what you forgot, and what kept showing up in your life, such as birthdays, projects, routines, or commitments.

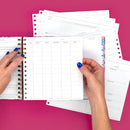
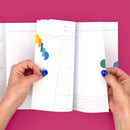
Step 2: Use the Sticky Note Method
This step keeps your setup flexible and low-pressure.
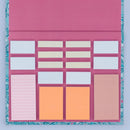
Take the three to five priorities you chose in Step 1 and write each one on its own sticky note. Then place those sticky notes in different sections of your planner where you think they might work best.
This method lets you test your layout without commitment. You’re free to move things around, change your mind, and learn what feels natural before anything becomes permanent. Planning systems work best when they grow with you.
Want to see this in action?
Watch our Sticky Note Method tutorial to see exactly how we use this approach to create a planner setup that feels intuitive and easy to adjust.

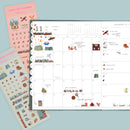
Step 3: Think Macro and Micro
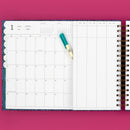
Many Laurel Denise planners allow you to see both your month and your week at the same time. It’s powerful—but only if each space has a clear purpose.
A simple way to think about it:
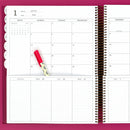
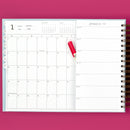
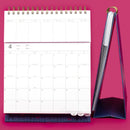
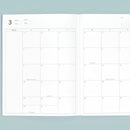
Monthly = Macro planning
Use your monthly view for the big picture: key events, deadlines, travel, and important dates.
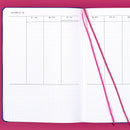
Weekly = Micro planning
Use your weekly view for the details: tasks, appointments, routines, and the flow of daily life.
If you’re feeling unsure about how this might look in practice, our Sample Planner Spreads page is a great place to start. Seeing different layouts side by side can make it easier to identify what feels like home. Some people even sketch a few options on paper and compare them all at once before deciding—there’s real clarity in seeing the big picture together.

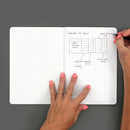
Step 4: Start Writing (Just One Month)
Now it’s time to begin filling things in. Pull from your digital calendar, emails, sticky notes, or that random note you found in your bag and start transferring information into your planner.
For now, only set up one month. This gives you space to adjust your layout and planning habits without feeling locked into anything too soon.
Remember—nothing is permanent. Using erasable pens can make this step feel much lighter, especially if you’re still experimenting. You can find our favorite erasable pens here, along with our go-to planning tools, to make adjusting and refining your setup easy.
Pro tip: Add a large sticky note to future months with upcoming events or deadlines. You’ll capture important information without needing to finalize your layout right away.

Step 5: Add Your Goals, Tasks, and Lists
Once your foundational dates are in place, layer in the elements that support day-to-day productivity.
This might include:
- Short-term or long-term goals
- Habit or wellness trackers
- Running task lists
- Reference lists you check often
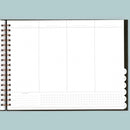
These can live wherever they feel most helpful: on an insert, in your layout, in the notes section, the “to do this month” column, or even the back pages of your planner. A productive planner is one that adapts to how you think.

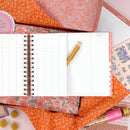
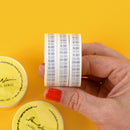
Step 6: Make It Yours (Decorate or Don’t)
Stickers, color tabs, washi tape, highlighters—or absolutely nothing at all.
Decorating your planner is optional. If it brings you joy and makes you want to open your planner, lean into it. If it doesn’t, skip it completely.
Personalization isn’t about perfection. It’s about creating a planner that feels welcoming and supportive so you actually use it consistently.

A Planner Setup That Supports Real Productivity
Your planner should reduce mental load, not add to it. By starting with intention, keeping your setup flexible, and separating big-picture planning from daily details, you create a system that supports productivity in real life—not just on paper.
If you’re looking for continued encouragement, ideas, and real-life planner inspiration, you’re always welcome in our private Facebook Group. Our community is a place to share setups, ask questions, and learn from others who are planning alongside you.
Prefer to watch instead of read?
You can find more guidance in our videos How to Move Into Your Planner and Getting Started in Your Laurel Denise Planner, where we walk through these concepts step by step.
Whether you’re moving into a brand-new planner or resetting your current one, these six move-in steps are here to help you build a planning routine that feels clear, doable, and sustainable.

